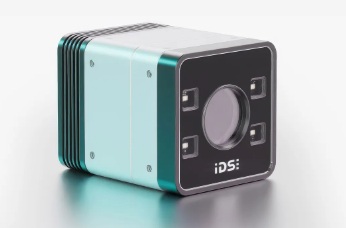
Next level time-of-flight – ToF. Nion combines spatial resolution of 1.2 MP (@30 fps) with reliable depth precision. Housed in a robust IP67 enclosure, Nion captures 3D for even fine structures – cost-efficiently.
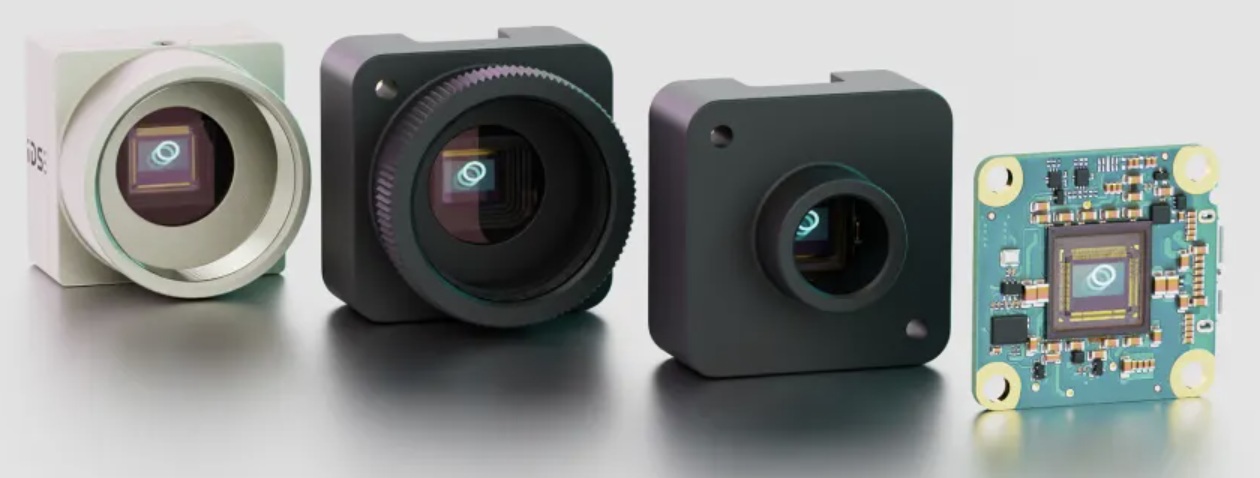
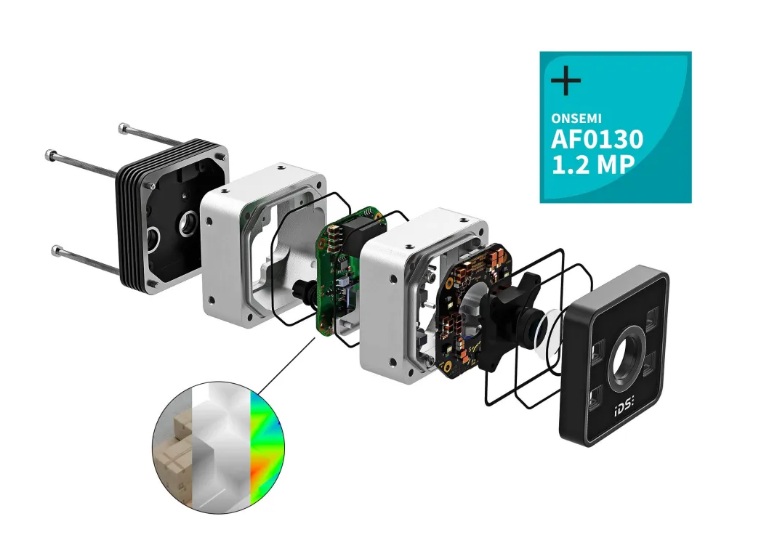
OnSemi AF0130 Hyperlux ID sensor
The AF0130 belongs to the Hyperlux ID family. It’s an Indirect Time of Flight (iToF) sensor, back side illuminated (BSI) CMOS global shutter depth and imaging solution. It calculates depth, confidence and intensity maps at high speeds from its laser modulated exposures.
Why is IDS Imaging introducing a ToF product
We’ve covered IDS evolving range of stereo vision 3D cameras previously, as recently as a few months ago, in Ensenso 3D for logistics applications.
But while powerful, stereo vision requires at least two cameras, and the corresponding electronics and software to synchronize the images and build the 3D model. So it can be overkill if you don’t need that level of performance.
With the Nion ToF product, IDS brings a more affordable 3D imaging solution to the market, which is more than good enough for many 3D applications .
The video below provides a nice overview. We tease out some of the key points in text and graphics further below, but you might like the dynamics of the video:
What’s inside that IP67 enclosure?
IP67 means dustproof and immersible in water to a depth of 1 meter for up to 30 minutes. That’s pretty robust. More than good enough for even the most challenging industrial environment, outdoor or wash down context.
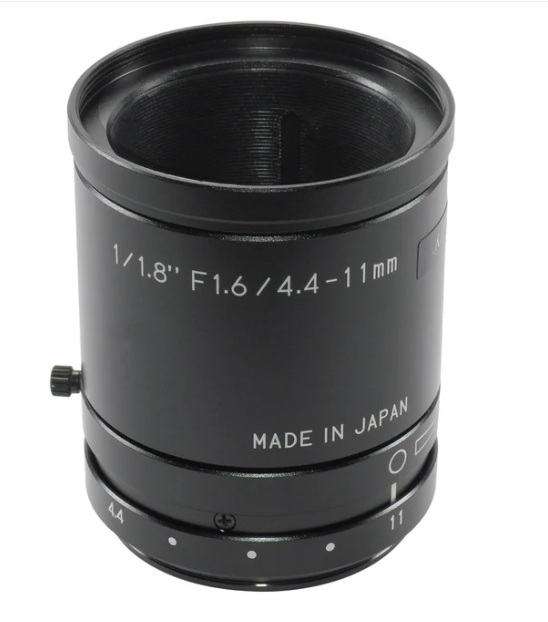
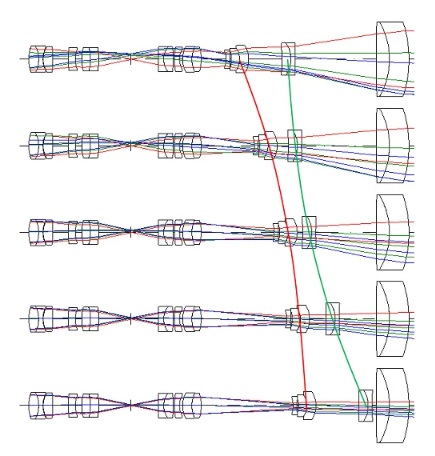
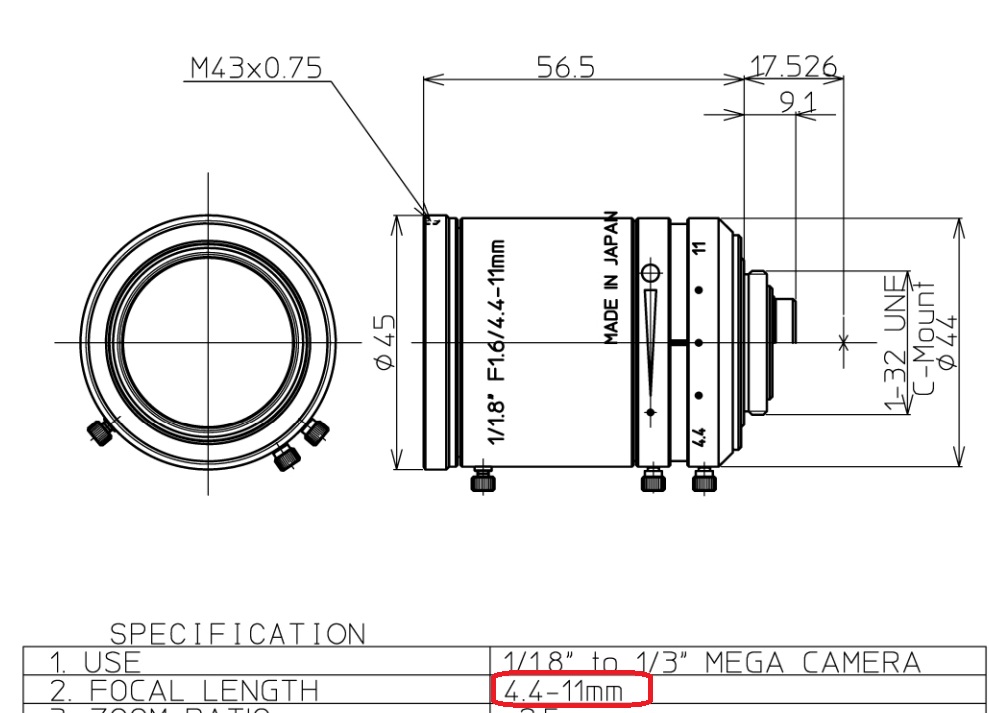
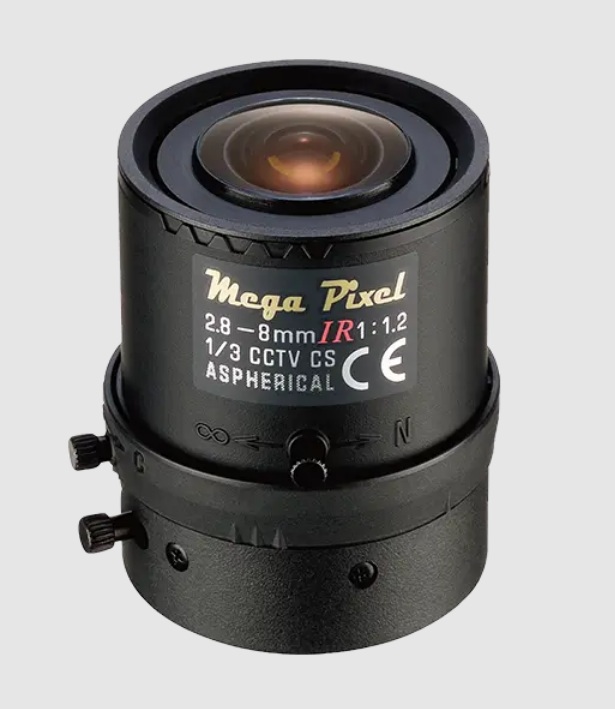
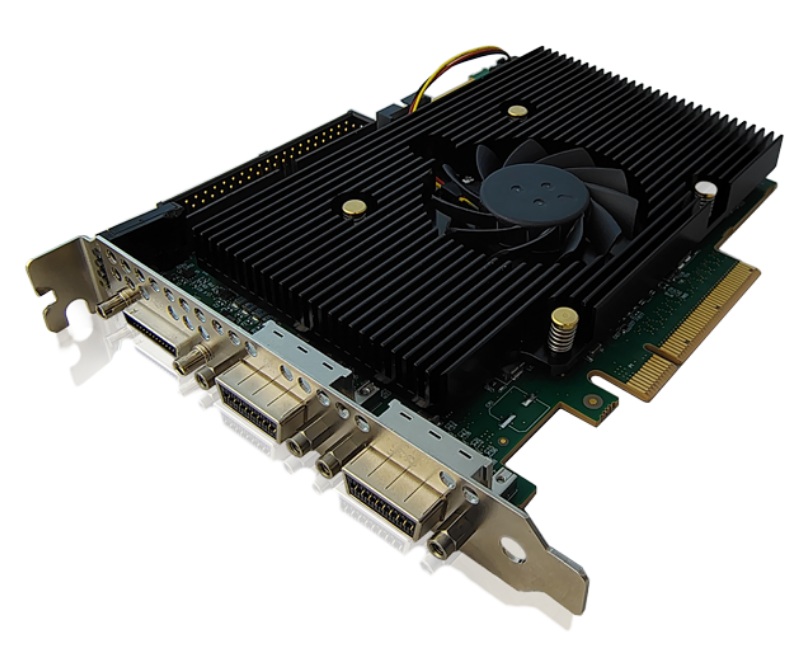
Besides the tight enclosure, of course there’s a lens to focus the light source onto the sensor, electronics to support the GigE Vision interface, the sensor is the heart of the matter.
Highest resolution industrial ToF camera
As this blog is released in April 2026, this is the highest resolution industrial ToF camera on the market.
In-sensor readout/storage reduces motion artefacts
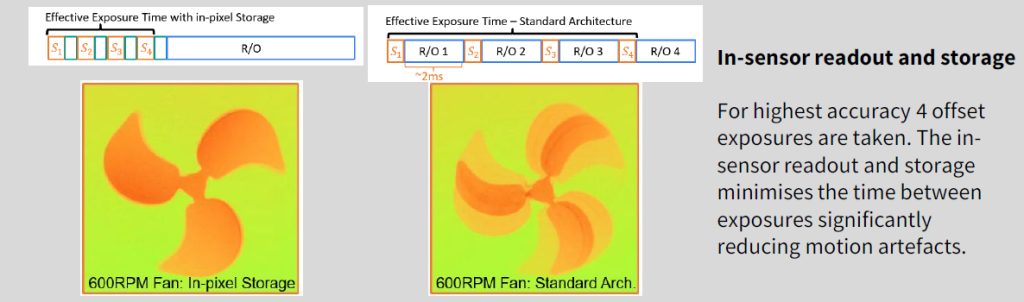
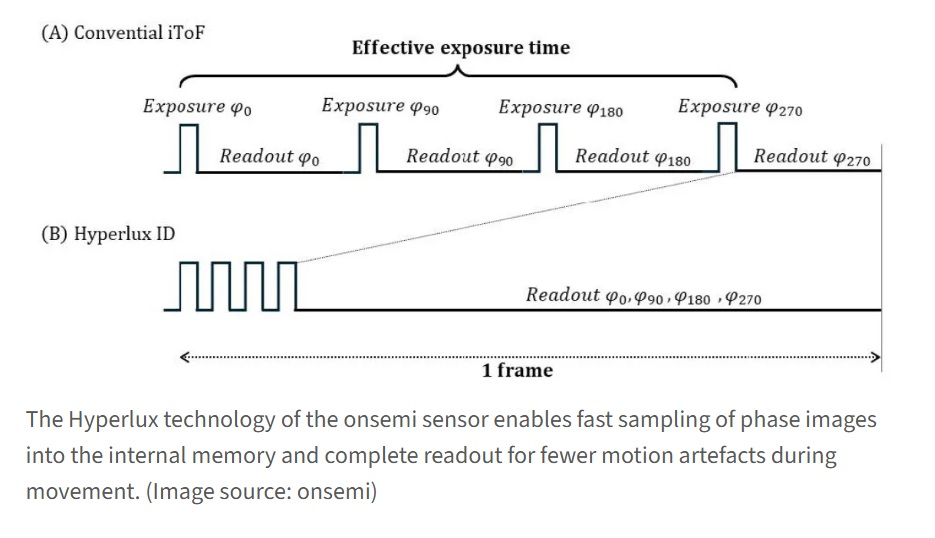
To calculate a single depth value, four coordinated exposures with different phase positions (typically 0°, 90°, 180° and 270°) are usually necessary. These four signals are then used to calculate the phase shift – and thus the distance. Thanks to its special pixel architecture and integrated on-chip processing, the AF0130 iToF sensor captures all four phase images in quick succession and stores them directly and completely in the chip’s memory – without any intermediate readout.
This significantly shortens the time between exposures and noticeably reduces motion blur. Another advantage of continuous reading: The depth information can be efficiently re-sorted and directly processed further – without time-consuming post-processing. This not only makes the camera more robust against movement, but also enables higher frame rates and reduces the load on the host system. This is a decisive advantage, particularly in dynamic applications such as robotics, logistics or pick-and-place.
Key takeaways on motion artefact reduction are:
Boiling the above section down to key takeaways, we note:
- Multi-phase demodulation (four, to be specific)
- Reduced motion artefacts in dynamic scences
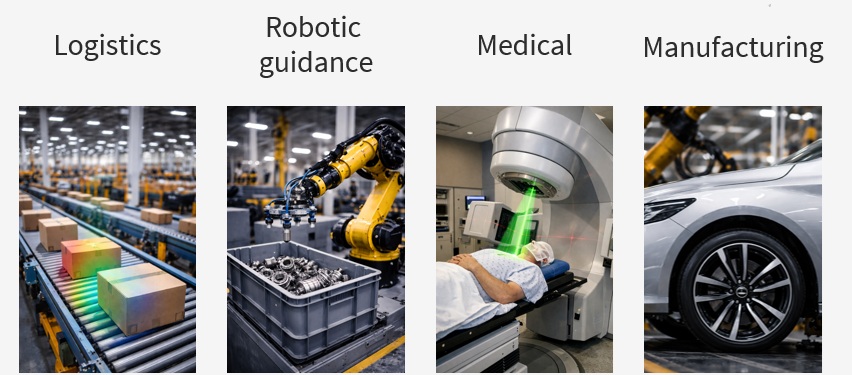
Suggested Markets
Just to whet the appetite, we call out logistics, robotics, medical, and manufacturing as sectors where affordable ToF 3D imaging can deliver value on investment. But of course you may have 3D applications in mind in another sector.

1st Vision’s sales engineers have over 100 years of combined experience to assist in your camera and components selection. With a large portfolio of cameras, lenses, cables, NIC cards and industrial computers, we can provide a full vision solution!
About you: We want to hear from you! We’ve built our brand on our know-how and like to educate the marketplace on imaging technology topics… What would you like to hear about?… Drop a line to info@1stvision.com with what topics you’d like to know more about.
#3D
#Nion
#ToF
#timeofflight
#IDSImaging