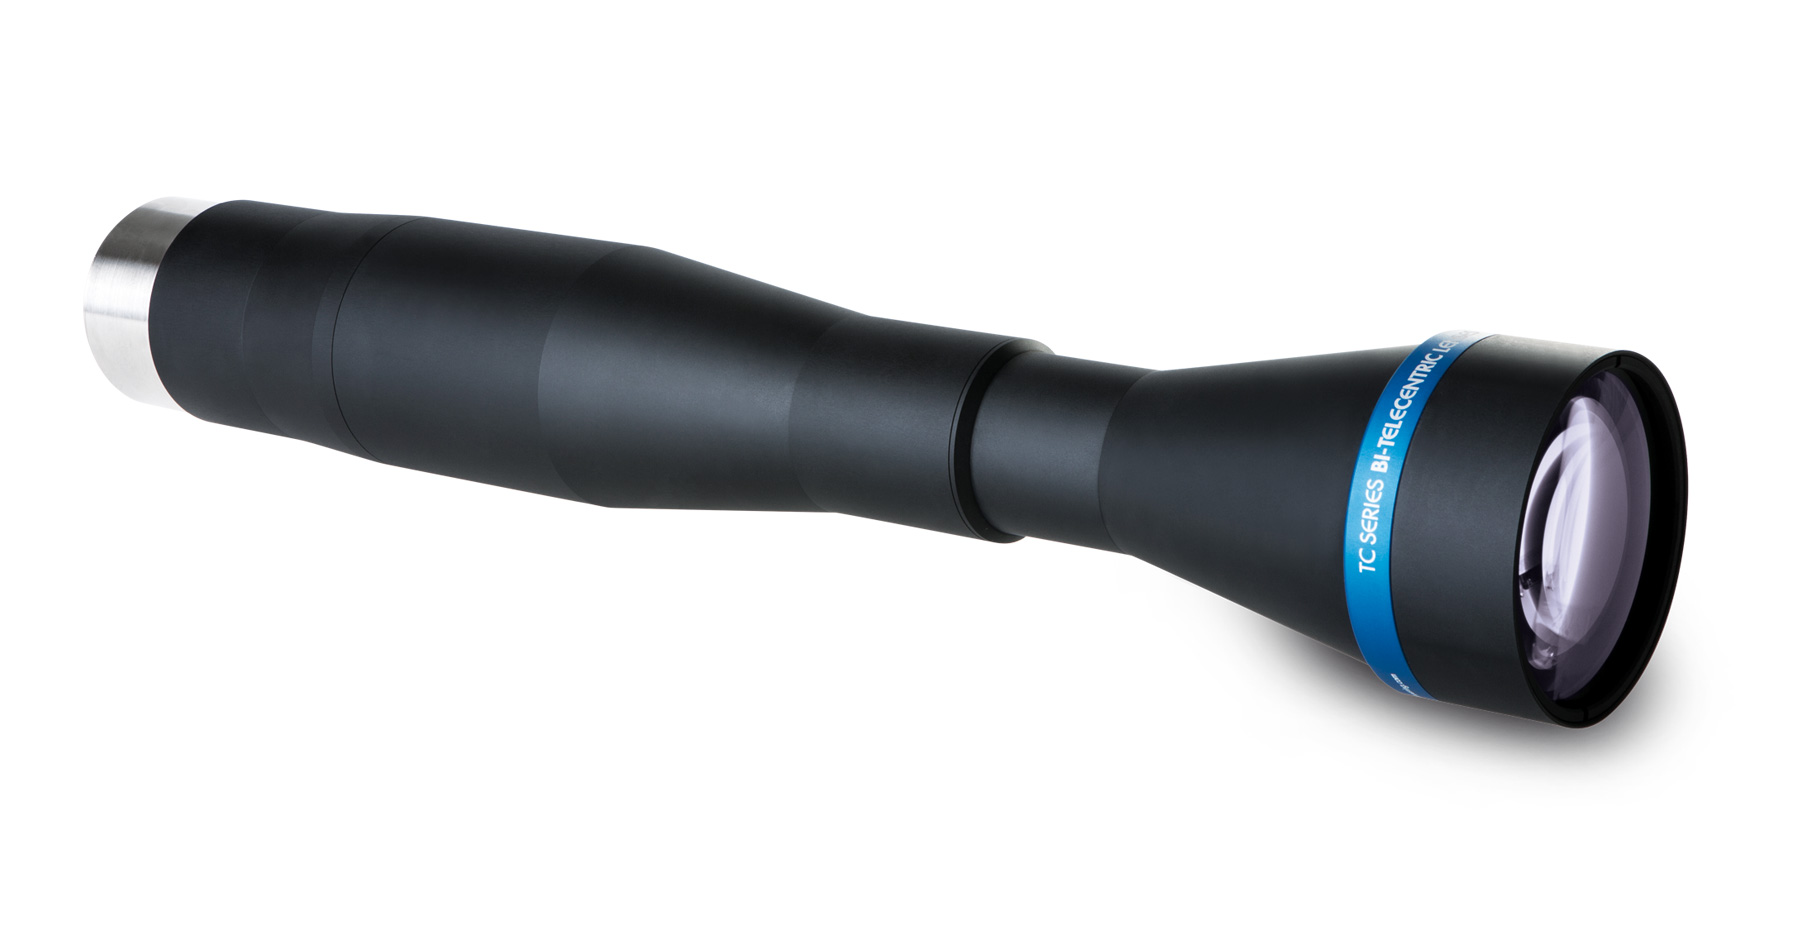
Opto Engineering TC12K Telecentric Lenses
for sensors up to 62 mm , 12K and 16K line scan cameras

Opto Engineering TC12K telecentric lens Opto Engineering TC12K telecentric lenses are designed for 12K and 16K line scan cameras, and other cameras with an image circle diameter greater than 62mm. TC12K lenses are widely used for many line scan applications including flat panel display, electronics inspection, and mechanical parts inspection. These telecentric lenses are compatible with a wide range of line scan cameras. They are equipped with a standard M72x0.75 mount. A different mount can also be ordered.

  • Line scan cameras with an image circle diameter larger than 62 mm
  • 12k and 16k line scan cameras
  • Standard M72x0.75 mount — other mounts can be ordered
  • Compatible with most line scan cameras

Opto Engineering telecentric lenses include a wide variety of lenses for area and line scan cameras. Contact us if you would like help choosing the right lens for your industrial machine vision applications.


Product User Guide Back focal adjustment
Get
Quote
  Main optical specifications Object field of view Advanced optical specifications Mechanical specifications Data
Sheet
Part
number
Mag.Image
circle
diameter
Max
sensor
size
Line
8k-7µm
Line
16k-3.5µm
Line
12k-5µm
Line
12k-5.2µm
Working
distance
Working
ƒ/N
Telecentricity
typical
(max)
Distortion
typical
(max)
Depth
of
field
MountPhase
adjustment
LengthFront
diameter
  57.3057.3061.4062.4
(x)(mm)(mm)(mm)(mm)(mm)(mm)(deg)(%)(mm)(mm)(mm)
123456789
TC12K0640.9662.412k/16k59.6959.6963.9665162.816< 0.06 (0.08)< 0.08 (0.10)1.8M72x0.75 FD 6.56Yes566.7100Download datasheet
TC12K0800.69862.412k/16k82.0982.0987.9789.4157.416< 0.06 (0.08)< 0.08 (0.10)3.4M72x0.75 FD 6.56Yes541.9116Download datasheet
TC12K1200.52962.412k/16k108.32108.32116.07117.9625416< 0.06 (0.08)< 0.06 (0.08)6M72x0.75 FD 6.56Yes722.1180Download datasheet
TC12K1440.43962.412k/16k130.52130.52139.86142.14237.916< 0.06 (0.08)< 0.07 (0.10)8.7M72x0.75 FD 6.56Yes743.3200Download datasheet
TC12K1920.3262.412k/16k179.06179.06191.88195265.516< 0.06 (0.08)< 0.08 (0.10)16.4M72x0.75 FD 6.56Yes857.5260Download datasheet
TC12K2400.2662.412k/16k220.38220.38236.15240492.816< 0.06 (0.08)< 0.08 (0.10)24.9M72x0.75 FD 6.56Yes1072.8322Download datasheet

Notes

  1. Working distance: distance between the front end of the mechanics and the object. Set this distance within ±3% of the nominal value for maximum resolution and minimum distortion.
  2. Working f-number (wf/N): the real f-number of a lens in operating conditions.
  3. Maximum angle between chief rays and optical axis on the object side. Typical (average production) values and maximum (guaranteed) values are listed.
  4. Percent deviation of the real image compared to an ideal, undistorted image. Typical (average production) values and maximum (guaranteed) values are listed.
  5. At the borders of the field depth the image can be still used for measurement but, to get a very sharp image, only half of the nominal field depth should be considered. Pixel size used for calculation is 7 µm.
  6. Object side, calculated with the Rayleigh criterion with Λ= 520 nm
  7. FD stands for Flange Distance (in mm), defined as the distance from the mounting flange (the “metal ring” in rear part of the lens) to the camera detector plane.
  8. Indicates the availability of an integrated camera phase adjustment feature.
  9. Measured from the front end of the mechanics to the camera flange.