If you want to save multiple images directly, enable automatic image saving under Application Settings > Image Saving.
To save the current image or the current images of the camera window, proceed as follows:
1.Click  in the camera window.
► The save dialog opens. Depending on the views in the camera window, you will see different file types.
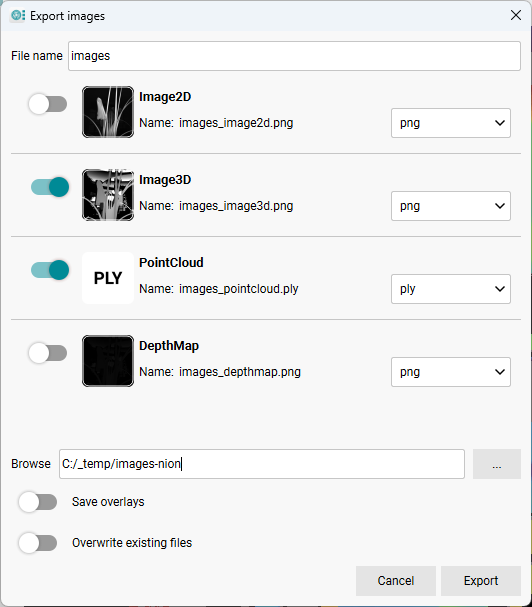
Fig. 281: Saving images
2.Enter an image name for the files. This image name is extended by the corresponding image type (image2d, image3d, etc.) for each image.
3.Use the sliders to select the images to be saved.
4.Select the format in which you want to save for each image.
5.Select the location for the file.
6.Use the slider to select if overlays in the image (freehand, line, rectangle, circle, or measurement line) should be saved in the image file.
7.Additionally, you can specify whether images in the directory should be overwritten.
|
When you save images, the file path is not allowed to contain Unicode characters, otherwise saving will fail. |